# Environment Setup
# Node.js
Node.js (opens new window) v8.0 or higher.
# iOS
Important
Xcode v9 or higher is required.
- usbmuxd is needed in order to testing real iOS device via USB.
$ brew install usbmuxd
- ideviceinstaller is needed in order to install App to real device.
$ brew install ideviceinstaller
- ios-webkit-debug-proxy is needed in order to testing WebViews.
$ brew install ios-webkit-debug-proxy
- Install macaca-ios (opens new window) driver
# local installation
$ npm i macaca-ios --save-dev
# global installation
$ npm i macaca-ios -g
- debug log will be displayed when '--verbose' is set as an argument when initiating macaca.
# iOS Real Device
First, there are two concepts that we need to clarify:
- Macaca depends on
macaca-ios, andmacaca-iosdepends onXCTestWDwhich is installed on real device. Hence we need to ensure that theXCTestWDwe are using is theXCTestWDinstalled on the real device. - The
XCTestWDinstalled on real device needs the same signature (TEAM_ID) as the app that we are testing against.
# Install macaca-ios and configure XCTestWD automatically (recommended)
Set TEAM_ID as an environmental variable when installing macaca-ios. XCTestWD will automatically use that TEAM_ID.
# Uninstall previously installed macaca-ios
$ npm uninstall -g macaca-ios

# Install macaca-ios with TEAM_ID
$ DEVELOPMENT_TEAM_ID=TEAM_ID npm i macaca-ios -g
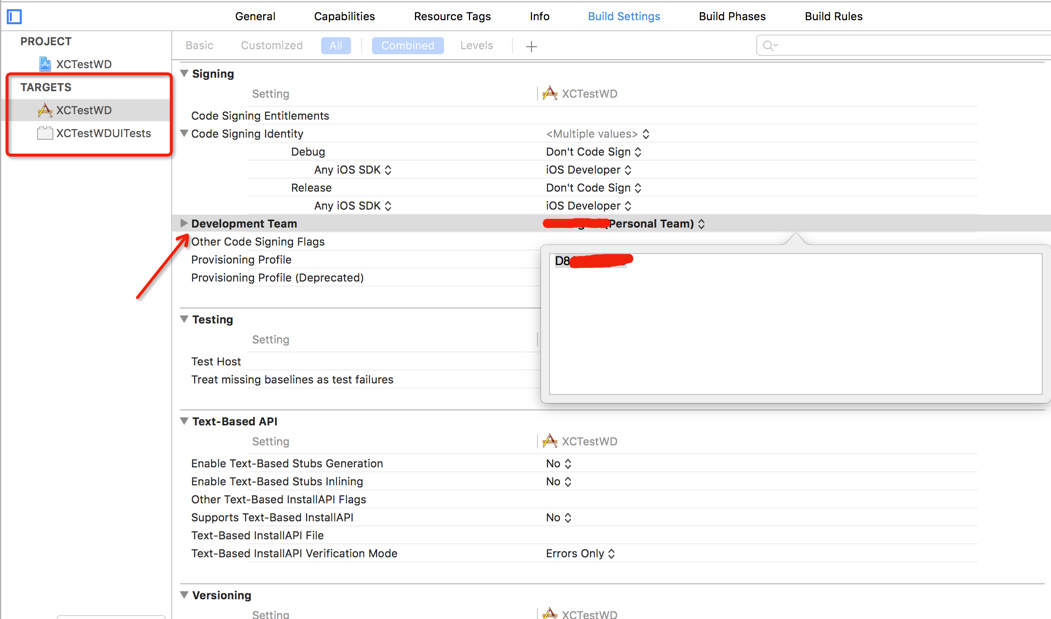
About TEAM_ID
If you don't know your TEAM_ID, you can find it or configure it inside your project in XCode (requires Apple account login) Click on "Other" when selecting Development Team to view the current TEAM_ID.
Configure udid, bundleId and app inside the testing script. Refer to desiredCaps (opens new window).
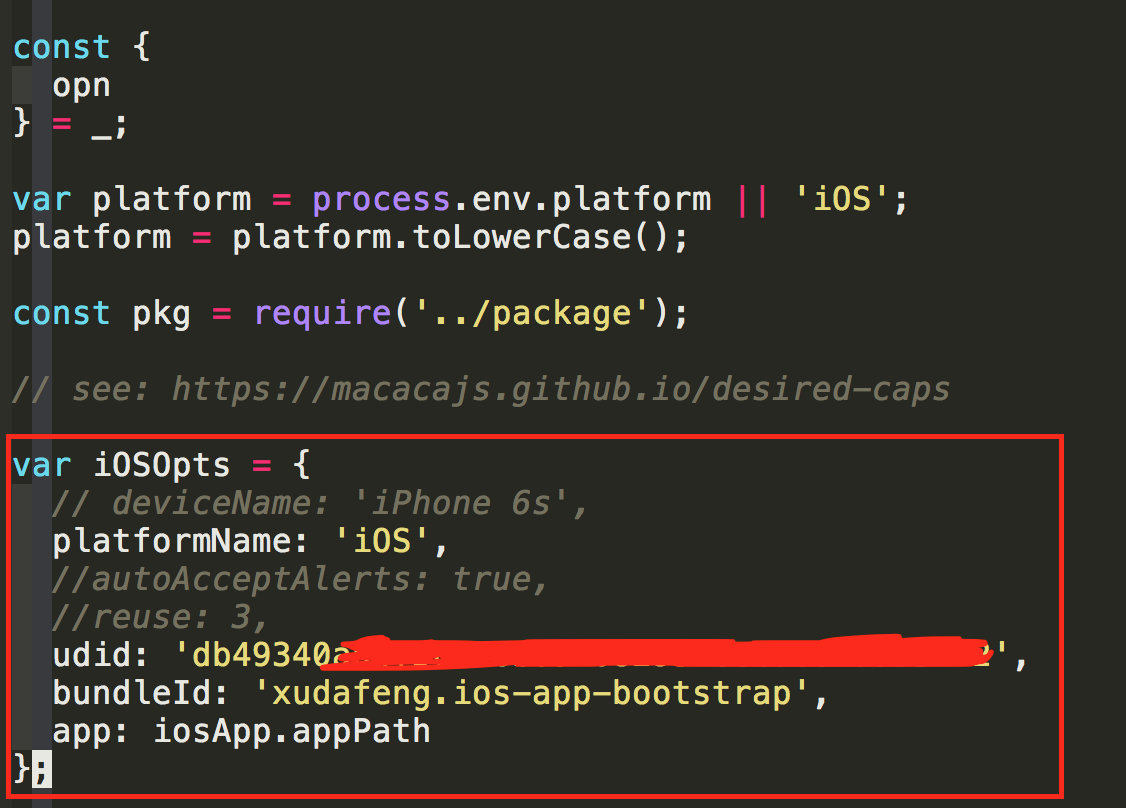
- Leave out the
appconfig if the app is already installed on the device.
# Configure XCTestWD manually (not recommended)
If you manually installed or downloaded XCTestWD, or the project already comes with XCTestWD:
- Open
/XCTestWD/XCTestWD.xcodeprojwith XCode - Configure
TEAM_ID(Refer to steps above) - Run Test to install
XCTestWDUITestinto the real device:
- Make sure that the correct
XCTestWDis used by Macaca:- Use environmental variable
MACACA_XCTESTWD_ROOT_PATHto set the location ofXCTestWD, refer to XCTestWD docs (opens new window).- The location should contain
XCTestWDfolder outsideXCTestWD.xcodeproj, instead ofXCTestWD.xcodeprojdirectly. - For example,
MACACA_XCTESTWD_ROOT_PATH=/path/to/macaca_xctest app-inspector -u xxx --verbose
- The location should contain
XCTestWDlocation could be insidenode_modulesof another package, or globally installed at/usr/local/lib/node_modules/xctestwd
- Use environmental variable
# Android
- Install the latest JDK 1.8 (opens new window) (Java 9 is not supported)
- Set the
JAVA_HOMEenvironment variable in your~/.bashrc,~/.bash_profile,~/.zshrcor whatever your shell uses:
# for example
export JAVA_HOME=path/to/your/Java/Home
# or
export JAVA_HOME="$(/usr/libexec/java_home -v 1.8)"
- Install the
Android SDKandAndroid Support Repository, using any of the versions within18-25 - Set the
ANDROID_HOMEenvironment variable in your~/.bashrc,~/.bash_profile,~/.zshrcor whatever your shell uses:
# for example
export ANDROID_HOME=/usr/local/opt/android-sdk
# or
export ANDROID_HOME="/Users/<UserName>/Library/Android/sdk"
- gradle (opens new window) is needed in order to build UIAutomatorWD and other package.(For Windows Users plz download gradle installer (opens new window) and set PATH environment variable.)
$ brew install gradle
- Install macaca-android (opens new window) driver
# local installation
npm i macaca-android --save-dev
# global installation
npm i macaca-android -g
- If you got a error like [You have not accepted the license agreements of the following SDK components] on your install command
npm i macaca-android -g, please accept all Android SDK licenses uses command below, and retry install.
$ yes | $ANDROID_HOME/tools/bin/sdkmanager --licenses
# Desktop
- If you want to test in Electron, install macaca-electron (opens new window) driver
# local installation
npm i macaca-electron --save-dev
# global installation
npm i macaca-electron -g
- If you want to test in Chrome, install macaca-chrome (opens new window) driver
# local installation
npm i macaca-chrome --save-dev
# global installation
npm i macaca-chrome -g
Chrome driver default version (opens new window)
# Macaca Cli
# Global Installation
$ npm i -g macaca-cli
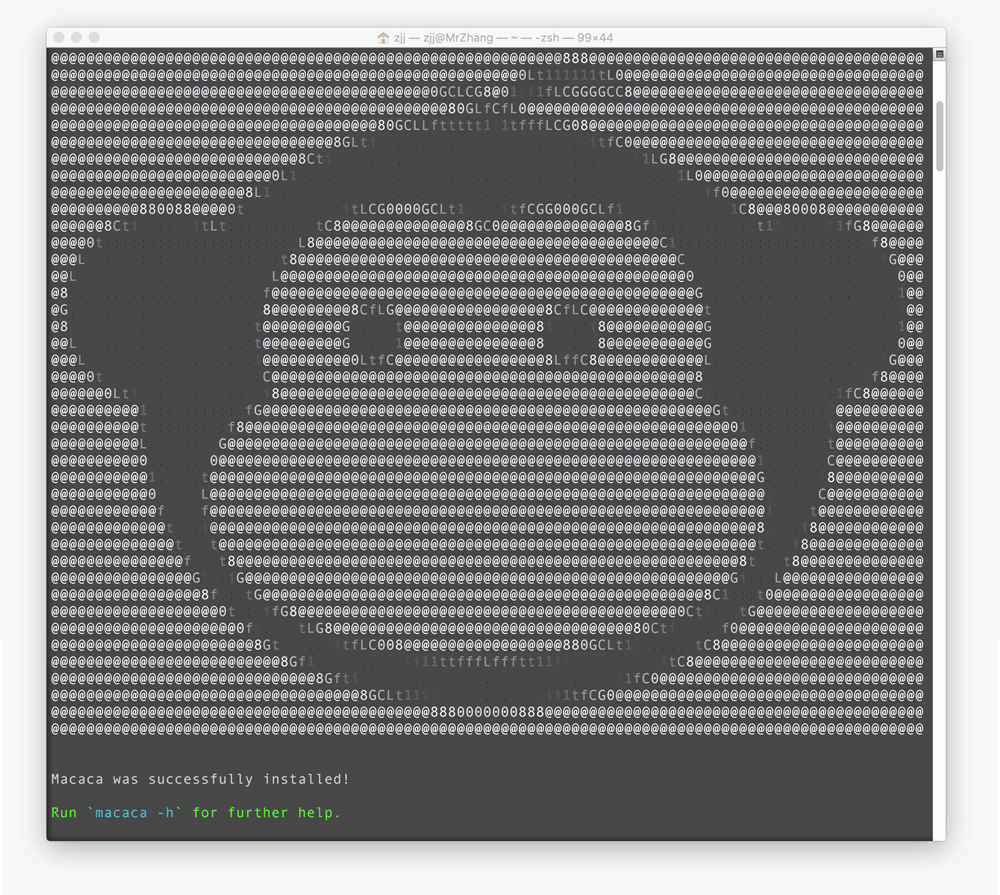
If you saw the picture below, congratulations! Macaca has been installed successfully!
# Local Installation
$ npm i macaca-cli --save-dev

# start Macaca
$ ./node_modules/.bin/macaca run --verbose
# Environment Check
Let's check the version and verify the environment.
# show version
$ macaca -v

# verify environment
$ macaca doctor
# Prepare Application
iOS: An valid iOS application package suffixed with .app.
Android: An valid Android application package suffixed with .apk.
Desktop: All web application could be run with initial url.